A kitchen faucet doesn’t just depend on an efficient fixture. It enhances the aesthetic, functional focal point, and beauty of your kitchen. Whether you’re replacing an old faucet or upgrading to a newer model, your leak-proof installation process is essential. Read the step-by-step process in this guide on how to install kitchen faucet.
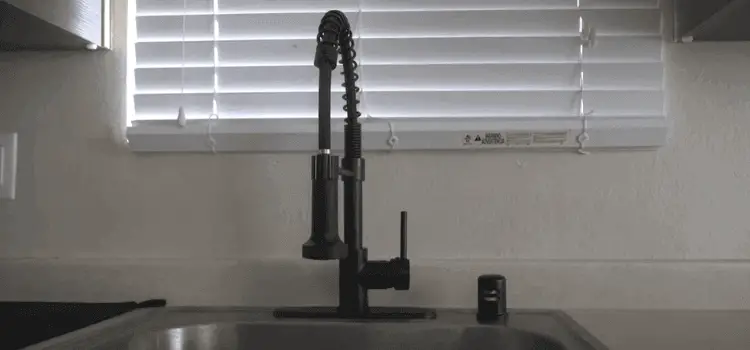
How to install kitchen faucet Step-by-step guide
Some kitchen faucets are sometimes faced with various problems during installation. But you can easily solve your problem by following the steps below.
Step 1: Gather Your Tools and Materials
Before you start, make sure you have all the necessary tools and materials listed below.
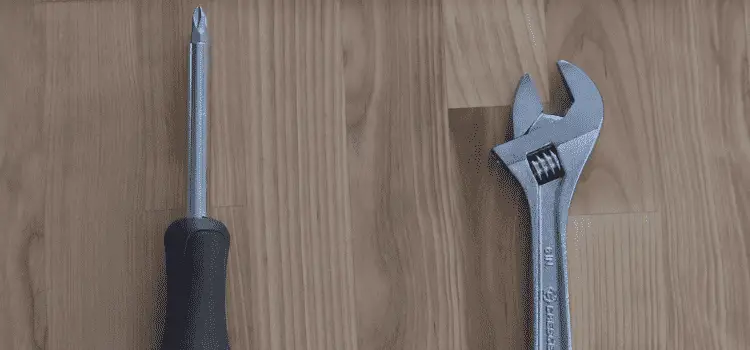
Tools and Materials Needed:
- New kitchen faucet
- Adjustable wrench
- Basin wrench
- Plumber’s putty or silicone sealant
- Bucket or towels (to catch any water)
- Teflon tape (optional)
- Safety glasses
Step 2: Shut Off Water Supply
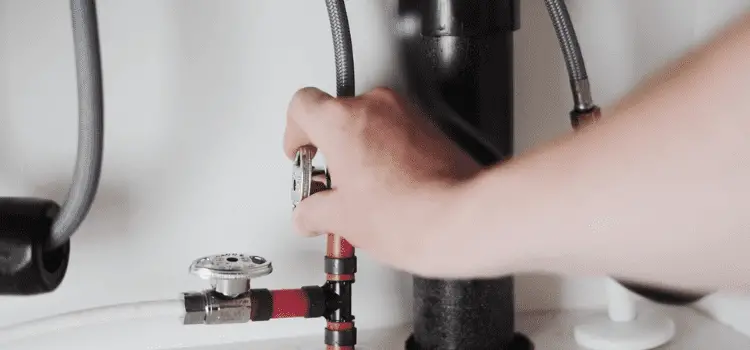
Locate the shut-off valves under the sink and turn off the hot and cold water supply by turning the valves clockwise.
Step 3: Disconnect Old Faucet
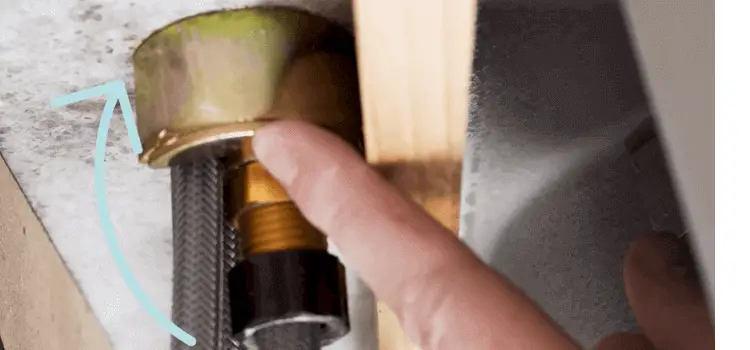
To disconnect the supply pipes from the outdated faucet, use an adjustable wrench. Place a bucket or towels underneath to catch any water remaining in the lines. Next, use a basin wrench to loosen and remove the nuts holding the faucet in place. You should be able to lift out the old faucet after the nuts are removed.
Step 4: Clean the Sink Area
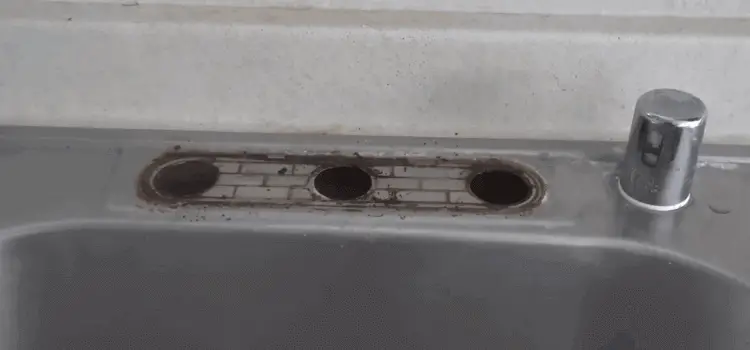
The area where the old faucet was installed near the sink should be cleaned. Remove any debris or old plumber’s putty.
Step 5: Install New Faucet
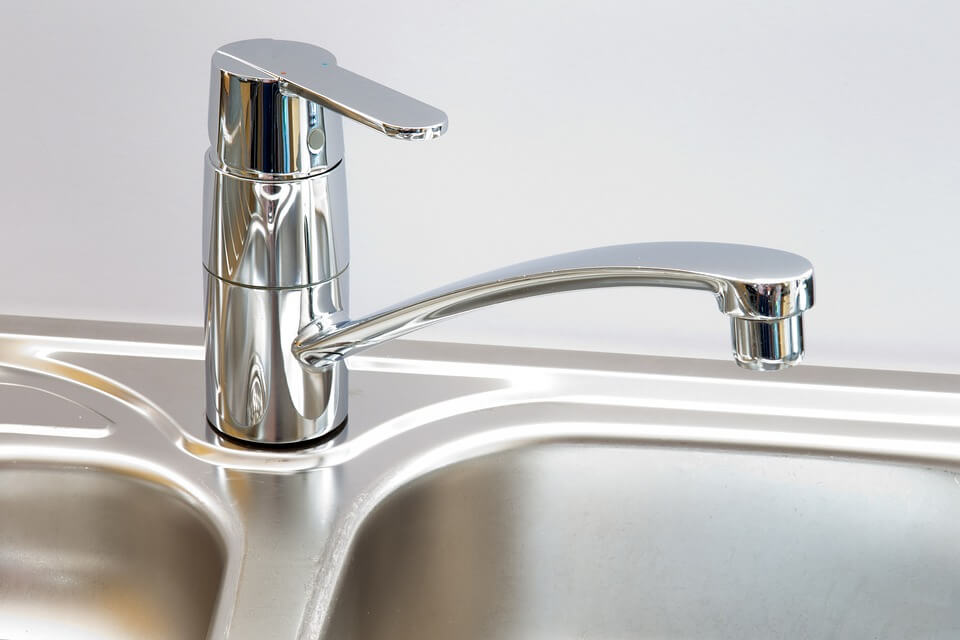
Place the new faucet into the sink’s mounting holes. From underneath the sink, secure the faucet in place using the nuts provided with the faucet. Put the nuts in place by using a basin wrench.
Step 6: Connect Water Supply Lines to Faucet
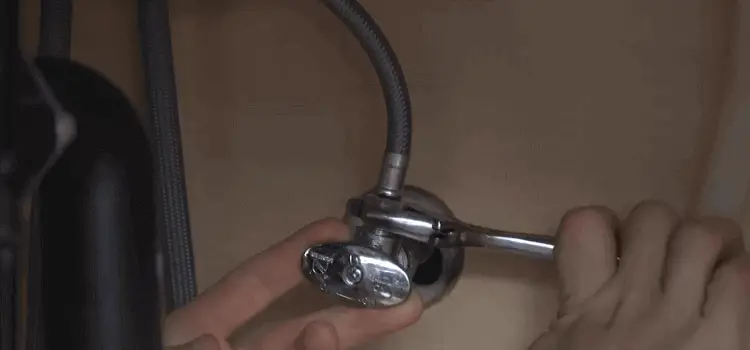
Attach the relevant valves to the hot and cold water supply lines. Use an adjustable wrench to tighten the connections, but be careful not to overtighten, as this can damage the fittings.
Step 7: Check for Leaks
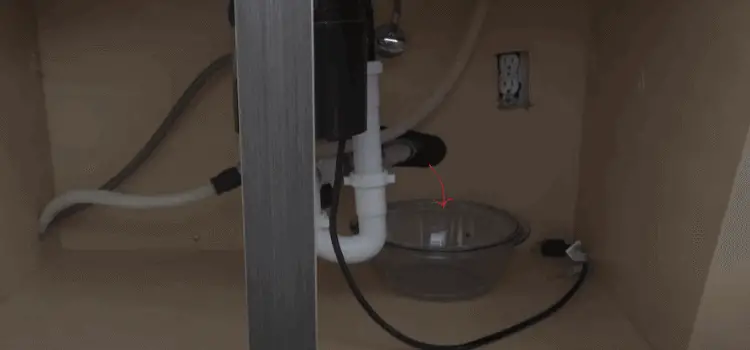
Once the water supply valves are turned on, look for leaks near the connections. Tighten the connections even more if any leaks are found. If the leaks persist, you may need to replace the washers or use Teflon tape on the threads.
Step 8: Test the Faucet
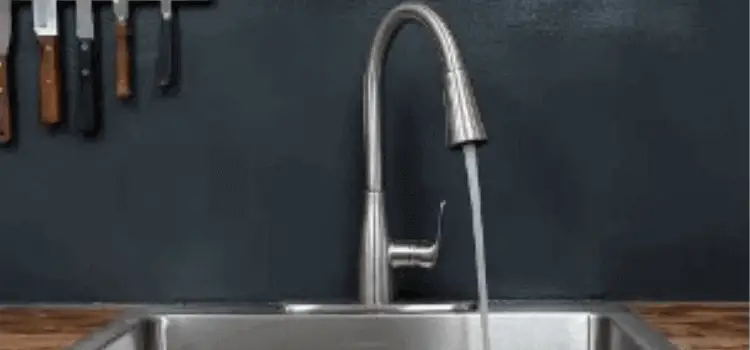
Turn on the faucet and check that the hot and cold water are flowing correctly. Check for leaks again while the water is running.
If you are sure that the faucet is installed properly and there are no issues then it is ready to use.
Do you need a plumber to install a kitchen faucet?
Fixing a kitchen faucet is not rocket science. You can install a kitchen faucet by yourself if you have knowledge. You can fix it easily if you know how to fix it and how to loosen and tighten the nuts. If you don’t know how to do this you will need a skilled plumber. A plumber can easily do this job and you can use that time elsewhere.
How long does it take a plumber to install a kitchen faucet?
The time it takes for a plumber to install a kitchen faucet can vary depending on several factors:
A professional plumber can take about 30 minutes to 1 hour to install a typical kitchen faucet. However, for more complex installations or if there are unforeseen complications, it may take longer like 2 – 3 hours. If additional work is required, such as replacing old pipes or repairing leaks, the installation will take longer to complete.
It depends on how complex your problem is. It is best to consult a plumber directly to get an accurate estimate for your specific situation.
How much does it cost to install kitchen faucet?
The cost of installing a kitchen faucet with a plumber usually ranges from $150 to $300. If you want to fix it yourself it can cost $50 to $70. Costs will vary depending on what type of sink and pipe or drain you are using. If you need a skilled plumber, you can discuss the problem with different plumbers in the area to find the best deal.
Understanding the importance of thread tape in faucet installation
Thread tape, also known as plumber’s tape or Teflon tape, is crucial in faucet installation. This thin, flexible tape seals the threaded connections between pipes and fittings, preventing leaks. It helps create a tight seal, reducing the risk of water seepage and potential damage to your kitchen.
By using thread tape properly during faucet installation, you can ensure a secure and reliable connection. It will enhance the overall performance and longevity of your plumbing system.
What is a good substitute for plumber’s tape?
A suitable alternative to plumber’s tape is thread sealant or pipe joint compound. These substances are applied to the threads of the fittings to form a secure seal and prevent leakage.
Although plumber’s tape is the top choice of many plumbers due to its availability and effectiveness. Thread sealant or pipe joint compound work as a reliable alternative when plumber’s tape is not available.
Conclusion
In conclusion, installing a kitchen faucet is doable, even if you’re not a pro plumber. Just stick to the steps we’ve laid out, ensure you have all the tools and parts handy, and take your time to get it right. Don’t forget to turn off the water first! With a bit of patience and attention to detail, you’ll have your shiny new faucet up and running smoothly in your kitchen in no time.
Frequently Asked Questions (FAQ) How to Install Kitchen Faucet Like a Pro!
Can I install a kitchen faucet without prior plumbing experience?
Yes, With the right guidance and tools, anyone can tackle this project.
Is it necessary to shut off the main water supply before installing a new faucet?
Yes, always turn off the water supply to avoid any accidents or water damage.
After installation, how do I test for leaks?
Slowly turn on the water supply valves, check for any leaks around the connections and the base of the faucet and tighten any fittings if necessary.
READ MORE: Can You Put an Air Fryer on a Wooden Surface: Safety Tips
As an Amazon Associate, I earn from qualifying purchases